How To Install Tiny Tiny Rss On Ubuntu 16 04
John David Pressman
In this tutorial we’ll be installing the Tiny Tiny RSS feed reader. I’ll also walk you through some of the cooler features of Tiny Tiny RSS that I don’t feel are entirely explained well in its official documentation. To start, you’ll need a computer with:
- A reliable Internet connection.
- Running some flavor of Ubuntu 16.04
- At least 512mb of memory.
As always in my tutorials, it’s important to be specific about exactly what version of the software is being used. In this case we’re installing Tiny Tiny RSS 17.4. We assume that you are starting on a server from scratch, with no previous software installations or configuration changes. All steps in this tutorial are taken directly from a log of commands I used during the installation, replayed step by step in a live Xubuntu 16.04 virtual machine.
Installing Prerequisites
First we have to install the bundle of supporting software Tiny Tiny RSS needs to function. As of version 17.4 this is:
apt-get install git
apt-get install curl
apt-get install postgresql
apt-get install php
apt-get install apache2
apt-get install libapache2-mod-php7.0
apt-get install php-apcu
apt-get install php7.0-pgsql
apt-get install php7.0-curl
apt-get install php7.0-xml
apt-get install php7.0-mbstring
apt-get install php7.0-JSON
Installation
Before installing Tiny Tiny RSS we have to prepare Postgres so that it can handle the database backend. First we have to create a database user for tt-rss to use:
adduser ttrss
su postgres
createuser ttrss
createdb -O ttrss ttrss
Change the authentication settings on your postgres instance so that the user you just created can actually access the database when tt-rss uses it. There’s multiple ways to do this but I took the lazy approach of changing the ‘local’ line in my pg_hba.conf so that local socket connections are trusted. This is probably some kind of security risk so I’ll let you figure out how you want to set things up:
nano /etc/postgresql/9.6/main/pg_hba.conf
Now we’re ready to install Tiny Tiny RSS itself. We start by cloning its git repo into our working directory:
git clone https://tt-rss.org/git/tt-rss.git tt-rss
This can take a few minutes, so you might want to have a good book at hand while you wait. Once it’s through, you want to move tt-rss into your /var/www/:
mv tt-rss /var/www/html/
Navigate to the install page under the directory you installed tt-rss at. If you did things exactly as in this tutorial it should be under whatever IP your server has /tt-rss/install. eg. 127.0.0.1/tt-rss/install
There you’ll be greeted by a screen that looks like this:
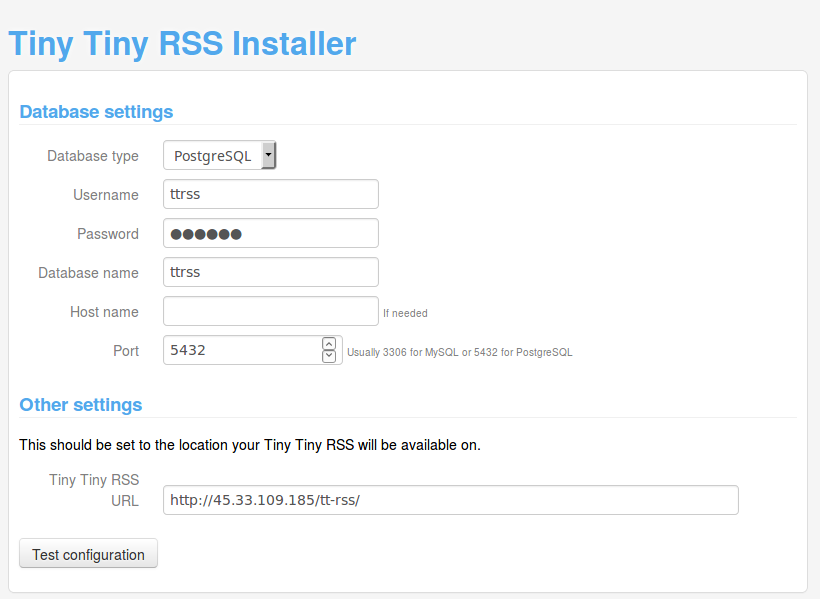
Enter in the info you used earlier to create the database user and database name, along with the password you chose for that user and the port your postgres instance is on. (The password may or may not matter depending on your authentication settings.)
Click “test configuration”, if the previous steps were followed correctly you should have a prompt at the bottom of the page asking if you’d like to initialize the database, do so.
Copy the text given into a configuration file called config.php. Move that configuration file into the main directory of your Tiny Tiny RSS instance.
cat > config.php
mv config.php /var/www/html/tt-rss/
Once done visit the main directory at
Post Installation Setup
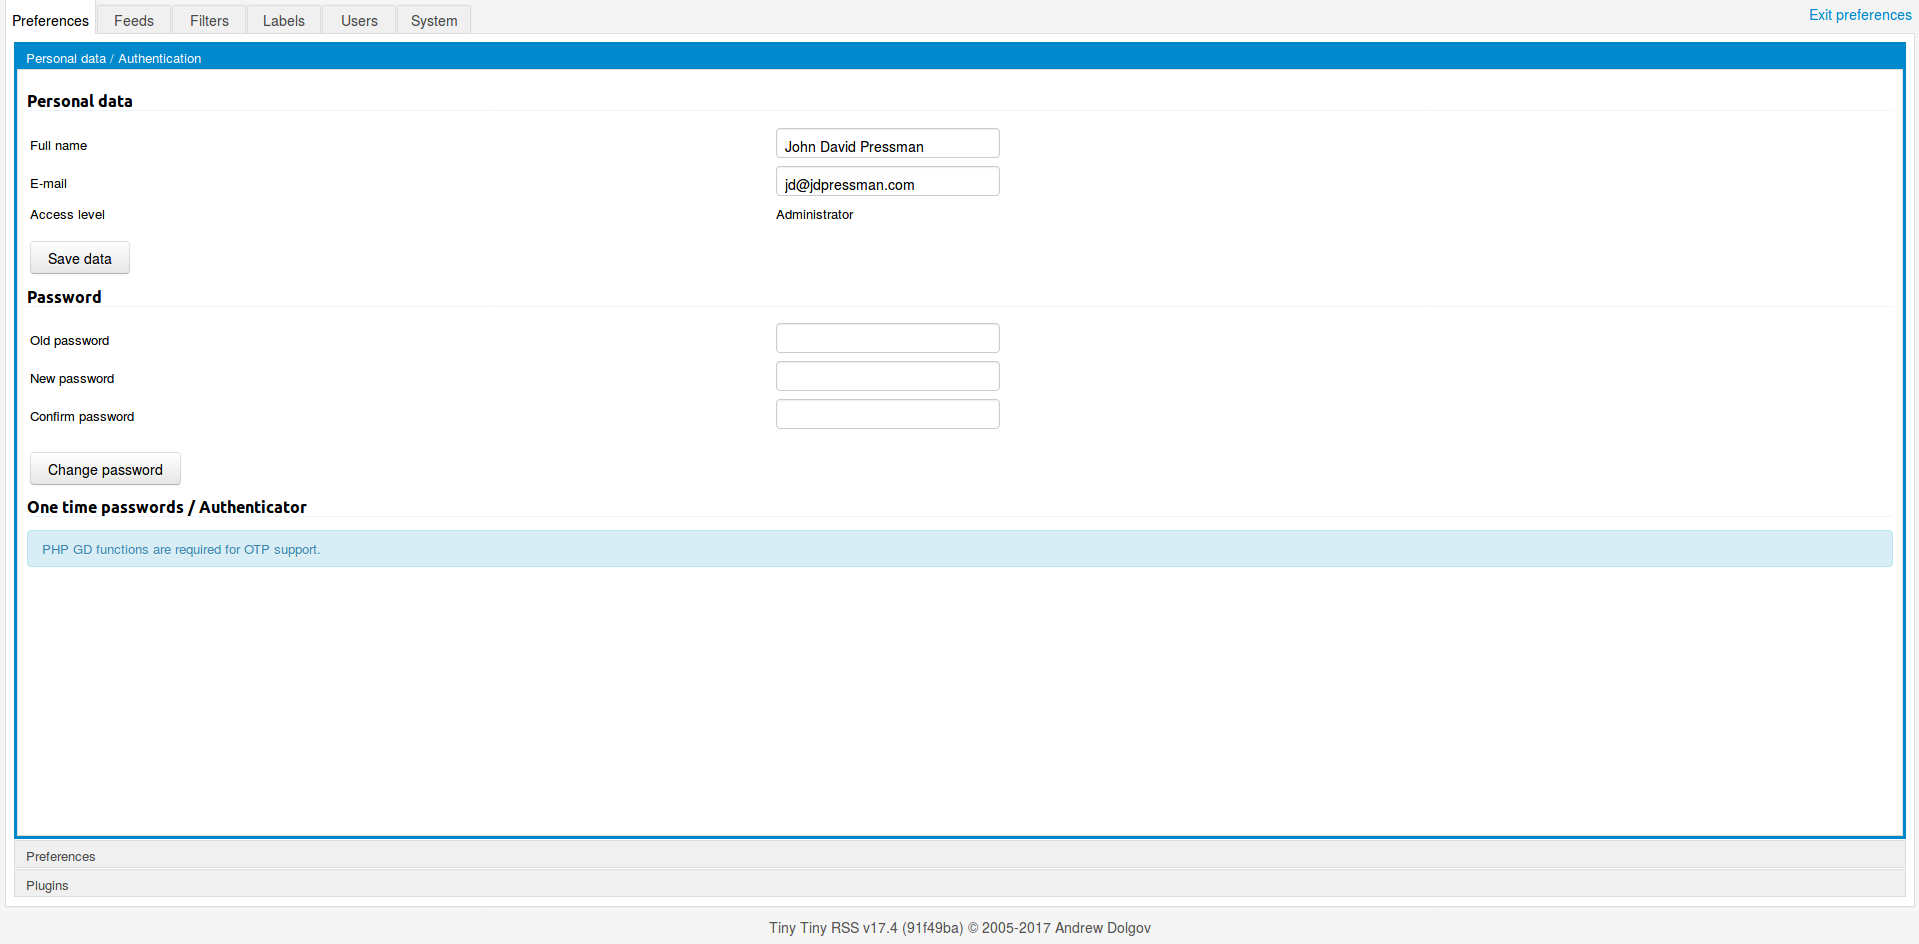
There’s still a few more things you need to do before you can get on with using your new feed reader. The first one is you have to change the password. To do this you log in with the default username and password combo, ‘admin’ and ‘password’ respectively, then go to preferences. I initially tried using the user-editor menu in the administration settings to do this, but this actually locked me out of the admin account. Rather, you’re meant to use the personal password reset form on the Personal Data/Authentication section of the preferences page:
Change your password in the obvious way to something reasonable, and then click into the users tab to make yourself a non-administrator user to do your daily activities with. This is also a good time to point out that TinyTinyRSS is a multi-user system and you should seriously consider offering accounts to friends.
Cool Features
Once you get settled in with your new user account and add some feeds, import an OPML, etc, you’re ready to learn about a few really awesome features the software has that might not be immediately obvious.
Filters and Labels
Tiny Tiny RSS offers users powerful regex-based filtering options on their feeds. Once triggered a filter can do many things, including delete articles or assign tags. One particularly powerful option however is labels, which allow you to create what are essentially lists of entries from one or more feeds matching certain criteria. These lists can be read in the Tiny Tiny RSS interface just like a normal feed, letting you create your own custom views on the feed data.
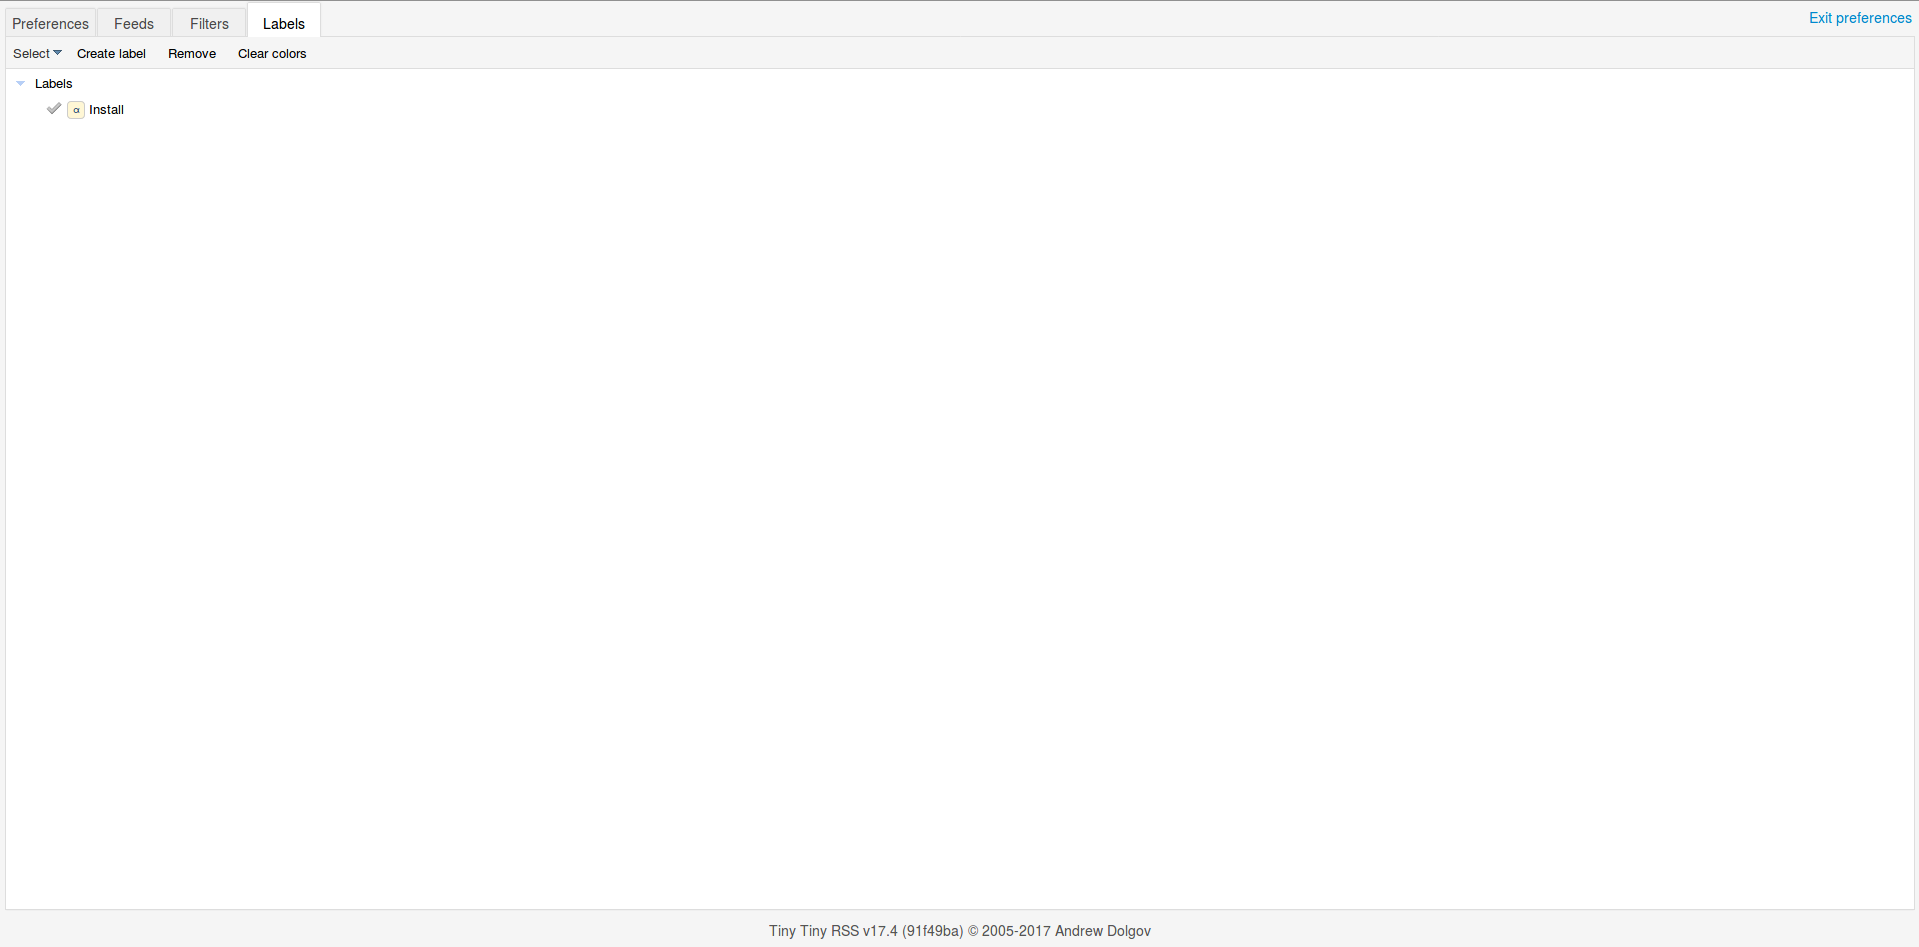
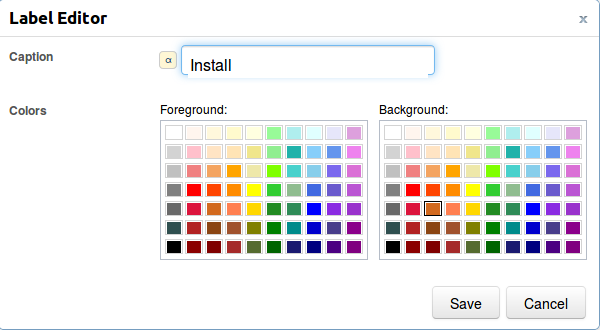
You start by creating a label, which is a fairly straightforward process:
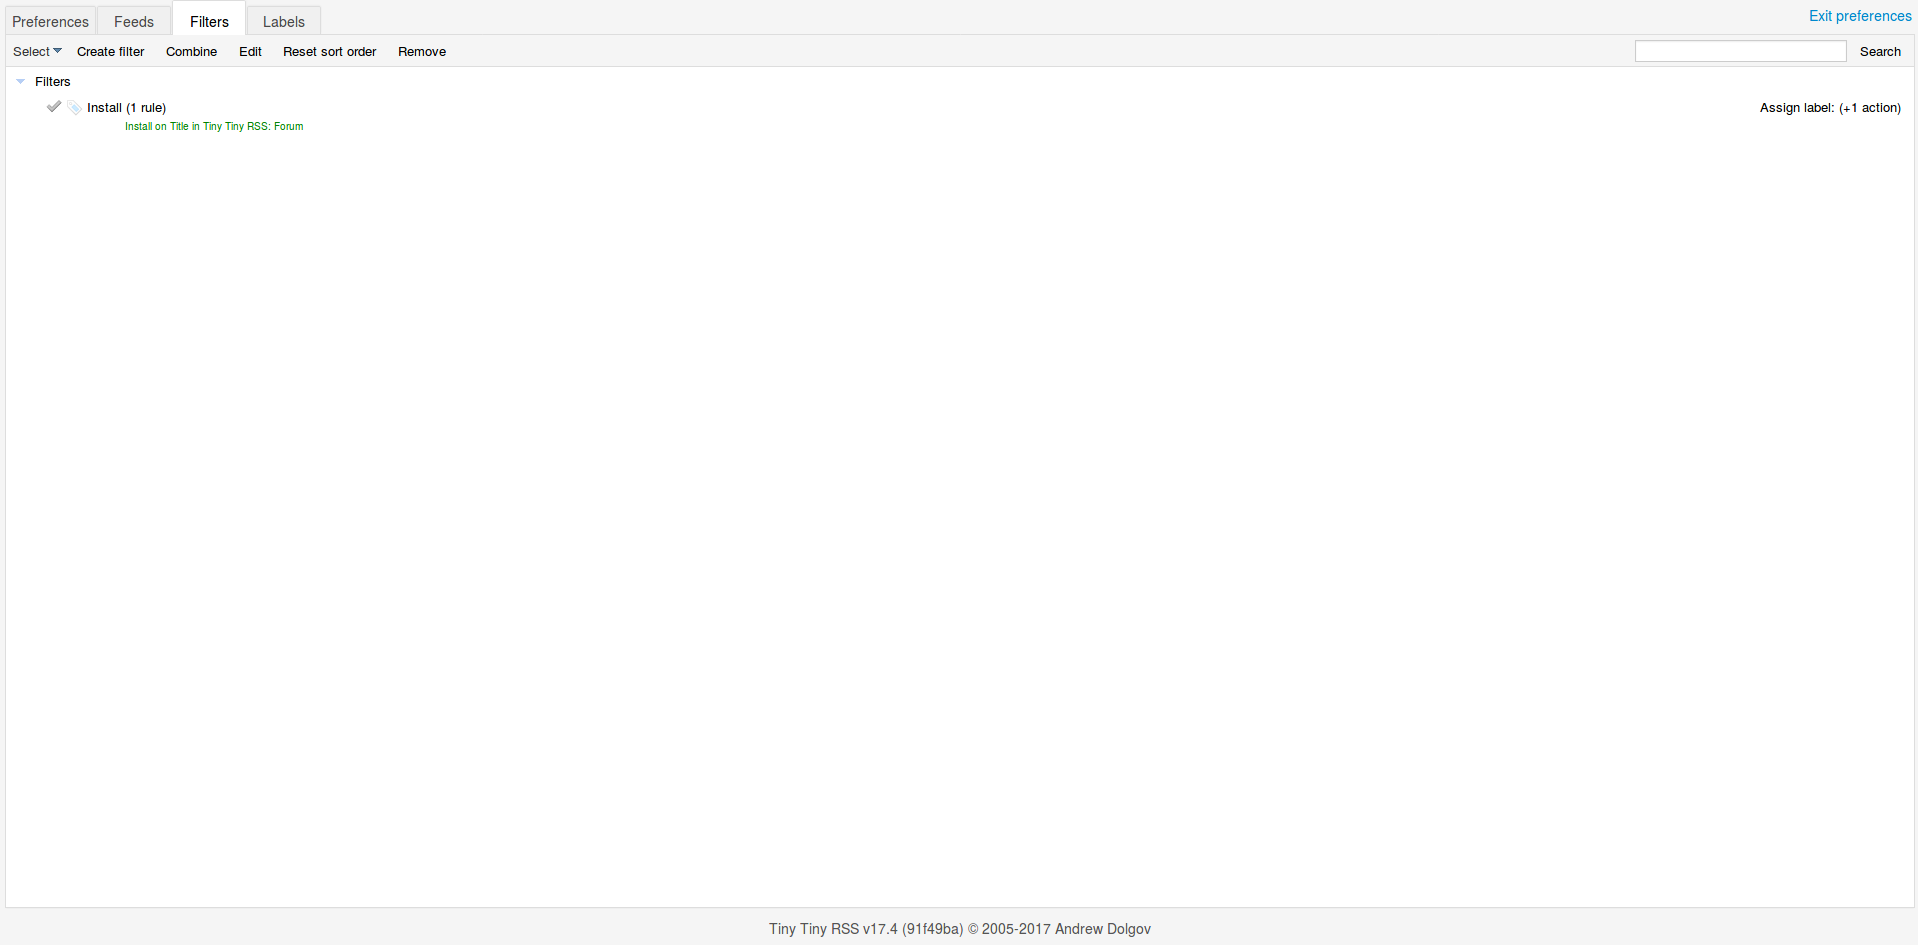
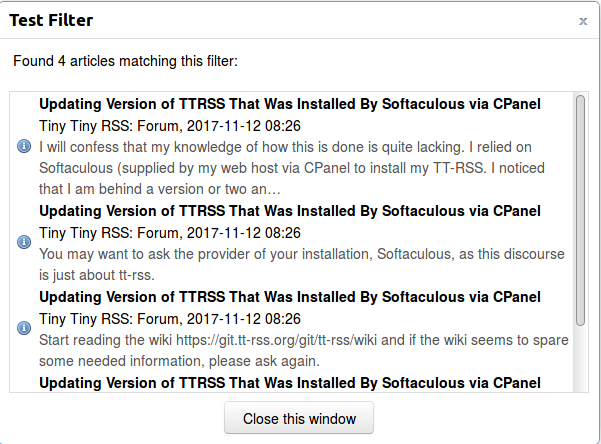
Once you’ve made the label you go over to filters and create a filter to match a certain pattern. In this case I look for entries with ‘install’ in the title on the Tiny Tiny RSS forum:
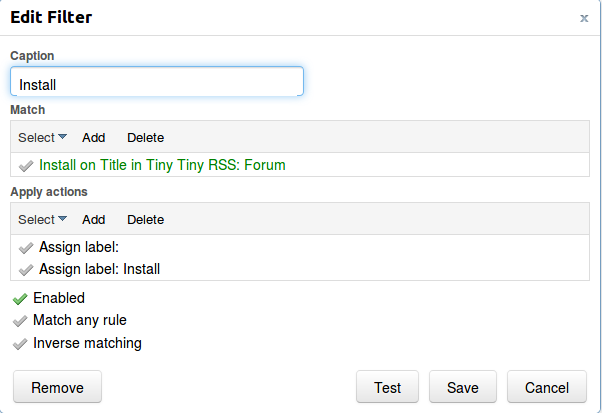
Once the filter is set up it’ll take a little bit to get articles. The filter only works on new entries as far as I can tell, so be sure to give it a little bit to detect your triggers on new entries coming into feeds. You can test the correctness of your filter by using the ‘test’ button in the interface, which will run it over historical data so you can get an idea of exactly what it matches. I find that in addition to letting me see the technical correctness, this screen is a good indication of whether the resulting feed will be useful.
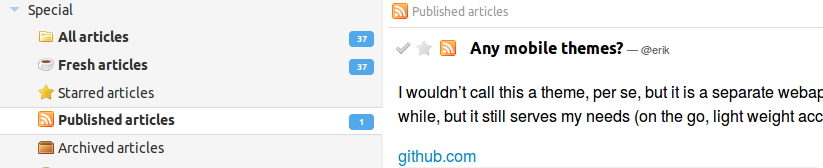
Published Articles
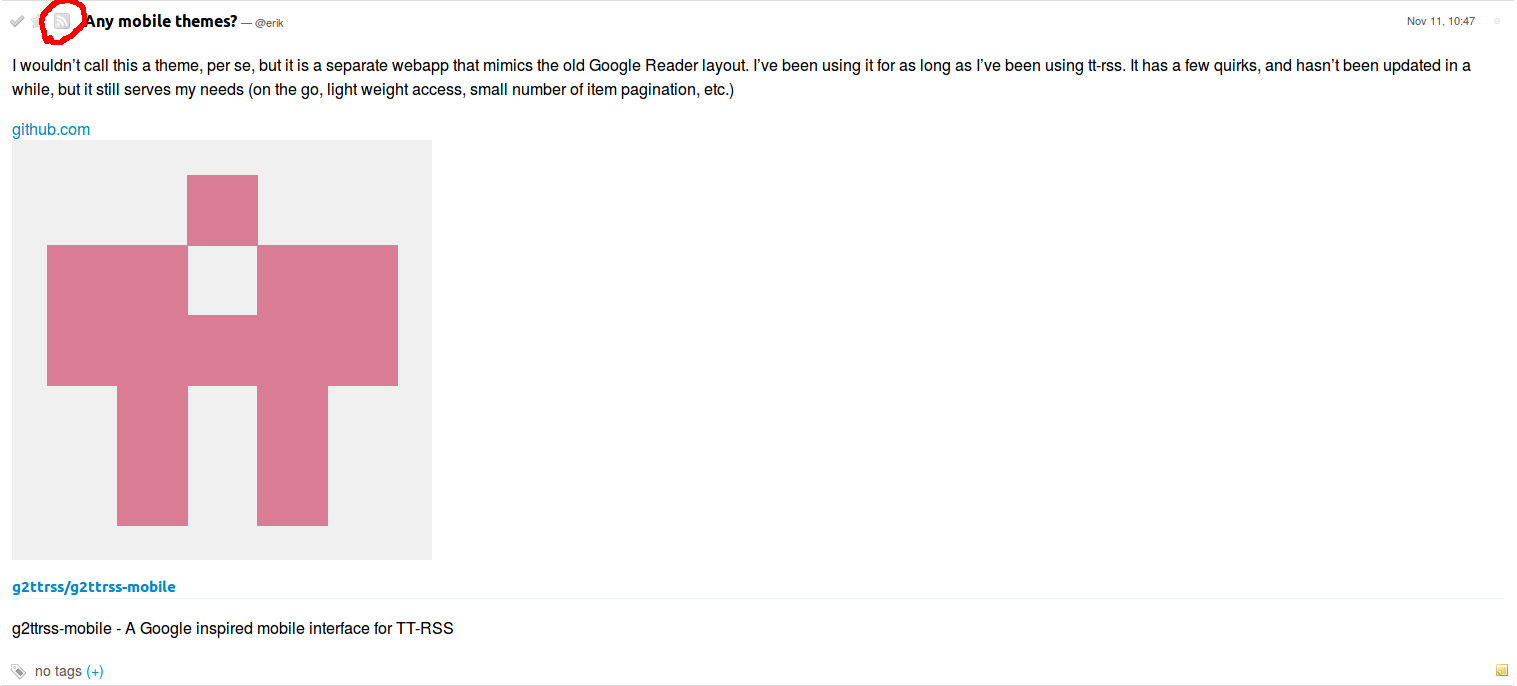
Another really cool feature is that you can publish articles you like to their own public feed. For example lets say I really like this post in the Tiny Tiny RSS forum feed about a mobile theme:
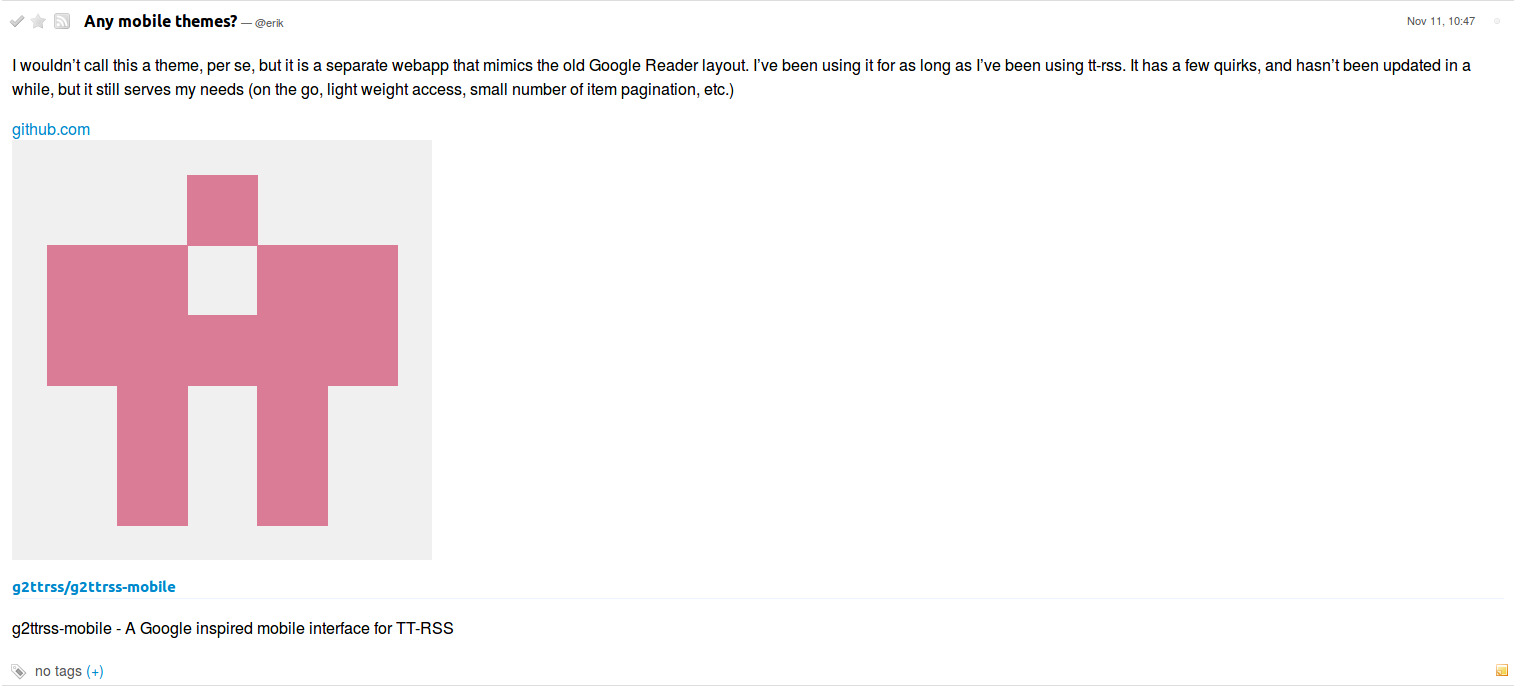
If we click the little RSS button in the upper left corner it’ll be added to our public feed: